Table of Contents
GraphRAG using Ollama: Build a Local Knowledge Graph in 11 Steps
GraphRAG using Ollama we build a Graph-based Retrieval Augmented Generation (GraphRAG) system using a local LLM (Ollama) and Python, without any cloud APIs.
We will:
• Extract relationships using an LLM
• Build a knowledge graph using NetworkX
• Retrieve facts from the graph
• Answer questions strictly from graph context
This entire setup runs offline.
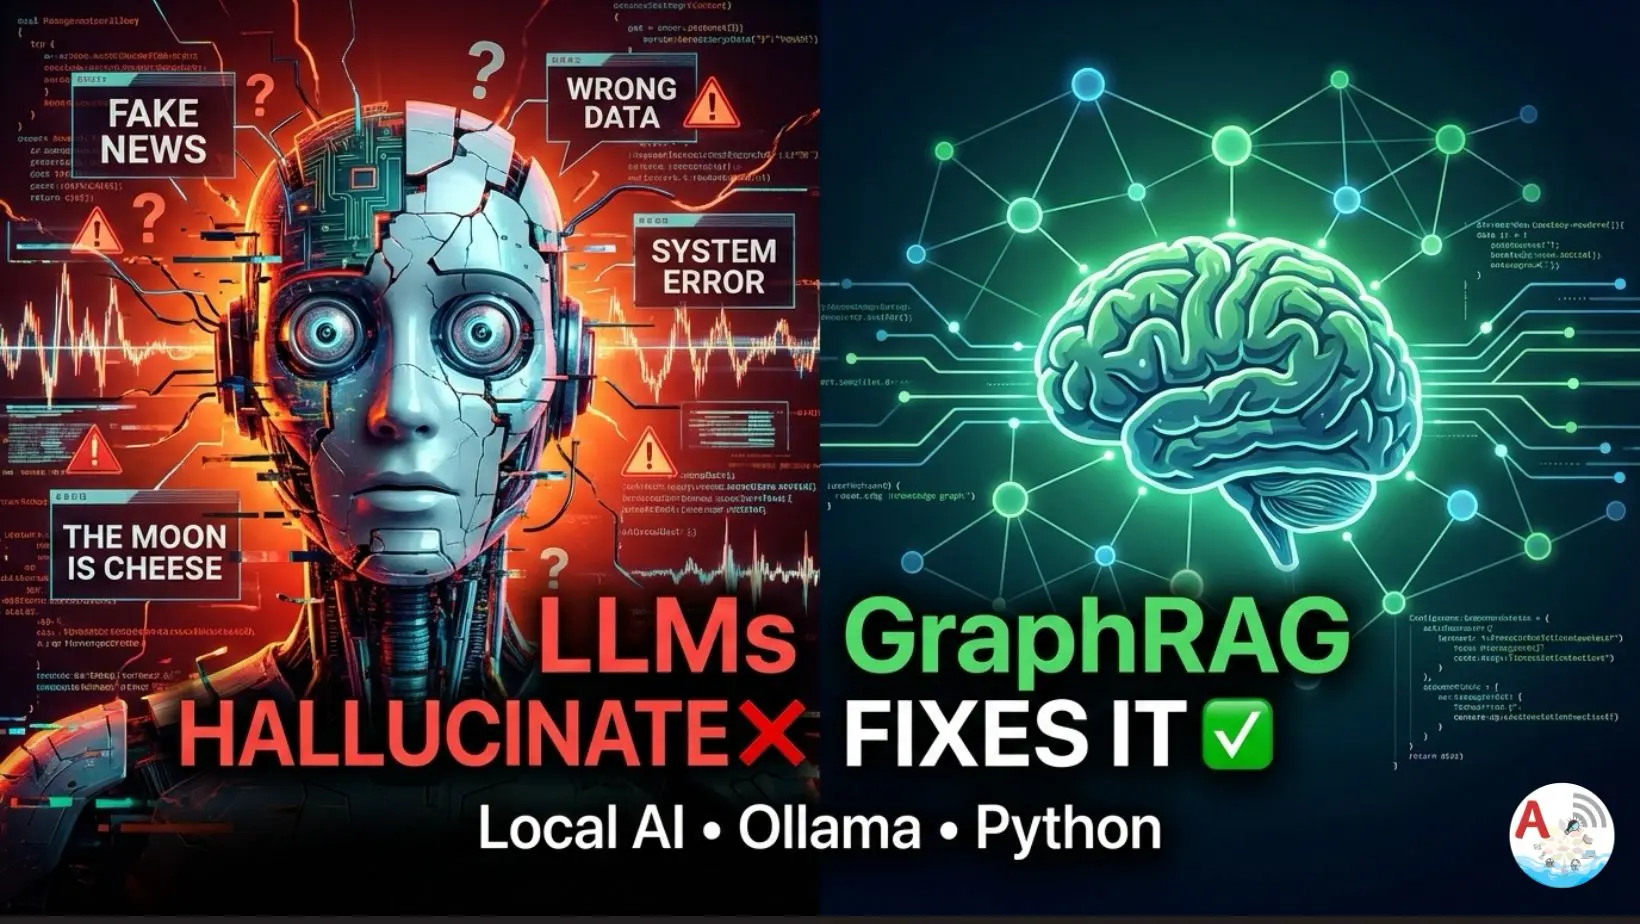
Why Choose GraphRAG over Traditional RAG?
Traditional RAG retrieves text chunks.
GraphRAG retrieves structured facts like:
Google → developed → Flutter
Flutter → integrates_with → Firebase
This reduces hallucinations and improves factual accuracy.
Learn how to combine Ollama with NetworkX to create a hallucination-free AI retrieval system.
Total Time: 30 minutes
Install Dependencies
Set up your environment by installing requests for API calls and networkx for managing the knowledge graph structure.
Define Input Documents
Create a list of text strings (knowledge base) that contain the facts you want the AI to extract and remember.
Configure Ollama
Point your Python script to the local Ollama HTTP API endpoint and specify the model name you intend to use.
Create Relationship Extraction Prompt
Write a strict system prompt that instructs the LLM to output relationships only in a structured JSON format (Source, Relation, Target).
Set Up Safe API Calls
Implement a function to send prompts to Ollama with error handling and timeouts to ensure the script doesn’t crash during long processing tasks.
Extract Relationships (JSON-Safe)
Use Regex and JSON parsing to clean the LLM output, ensuring only valid data enters your graph while filtering out conversational “noise.”
Build the Knowledge Graph
Iterate through the extracted relationships and use NetworkX to create a directed graph where nodes are entities and edges are their connections.
Query Normalization
Create a function to lowercase and strip special characters from user questions to ensure they match the entities stored in your graph.
Retrieve Facts from Graph
Search the graph for nodes that appear in the user’s query and pull all related “edges” (facts) to serve as context for the AI.
Generate GraphRAG Answer
Feed the retrieved facts and the user’s question into a final prompt, forcing the LLM to answer only based on the graph data provided.
Run the Interactive System
Initialize the graph and start a loop that allows users to ask questions and receive structured, fact-based answers in real-time.
Prerequisites and Tech Stack
- Python
- Ollama (Local LLM)
- NetworkX (Graph engine)
- Regex + JSON parsing
Step-by-Step Guide to Implementing GraphRAG
Step 1: Install Dependencies
pip install requests networkx
Make sure Ollama is running locally:
ollama run amplifyabhi
Step 2: Define Documents (Input Knowledge)
These are the facts we want to convert into a graph.
DOCUMENTS = [
    "Flutter is a UI toolkit developed by Google.",
    "Flutter integrates with Firebase.",
    "Firebase is owned by Google."
]
Step 3: Ollama Configuration
We call Ollama directly using its HTTP API.
OLLAMA_URL = "http://localhost:11434/api/generate"
MODEL = "amplifyabhi"
Step 4: Crafting the Relationship Extraction Prompt
We force the LLM to return structured JSON only.
GRAPH_PROMPT = """
Extract relationships as JSON

Format:
{
    "relationships": [
        { "source": "", "relation": "", "target": ""}
    ]
}
Text:
"""
This prompt is critical.
Bad prompts = broken JSON.
Step 5: Call Ollama Safely
def ollama(prompt: str) -> str:
    response = requests.post(
        OLLAMA_URL,
        json={
            "model": MODEL,
            "prompt": prompt,
            "stream": False
        },
        timeout=60
    )
    return response.json().get("response", "")
We use .get(“response”, “”) to avoid crashes if Ollama returns unexpected output.
Step 6: Extract Relationships (JSON-Safe)
LLMs sometimes return extra text.
So we extract only the JSON block.
def extract_relationships(text: str):
    raw = ollama(GRAPH_PROMPT + text)

    start = raw.find("{")
    end = raw.rfind("}") + 1

    if start == -1 or end == -1:
        return []

    json_text = raw[start:end].strip()

    try:
        data = json.loads(json_text)
    except json.JSONDecodeError:
        return []

    relationships = data.get("relationships", [])
    return [r for r in relationships if r.get("source") and r.get("relation") and r.get("target")]
This step prevents:
- JSONDecodeError
- Partial JSON
- Hallucinated keys
Step 7: Building the Graph with NetworkX
We store extracted facts in a directed graph.
def build_graph(docs):
    graph = nx.DiGraph()
    for doc in docs:
        relations = extract_relationships(doc)
        for r in relations:
            graph.add_edge(
                r["source"],
                r["target"],
                relation=r["relation"]
            )
    return graph
Step 8: Query Normalization
Used to match questions with graph nodes.
def normalize(text):
    return re.sub(r"[^a-z0-9 ]", "", text.lower())
Step 9: Retrieve Facts From Graph
This replaces vector search.
def retrieve_from_graph(query, graph):
    q = normalize(query)
    facts = []
    for u, v, d in graph.edges(data=True):
        if normalize(u) in q or normalize(v) in q:
            facts.append(f"{u} {d['relation']} {v}")
    return facts
GraphRAG using Ollama Part 1
GraphRAG using Ollama explained in detail
Step 10: GraphRAG Answer Generation
LLM is strictly bounded by graph facts.
def graphrag_answer(query, graph):
    facts = retrieve_from_graph(query, graph)

    if not facts:
        return "I don't know based on the graph."

    context = "\n".join(facts)

    prompt = f"""
        You are a technical assistant.

        Rules:
        - Answer in 1–2 factual sentences
        - Use ONLY the context
        - No assumptions

        Context:
        {context}

        Question:
        {query}

        Answer:
        """
    return ollama(prompt)
Step 11: Run the System
if __name__ == "__main__":
    graph = build_graph(DOCUMENTS)

    print("Graph Edges:\n")
    for u, v, d in graph.edges(data=True):
        print(f"{u} - [{d['relation']}]-> {v}")

    while True:
        q = input("Question: ")
        if q.lower() == "exit":
            break
        print(graphrag_answer(q, graph))
GraphRAG using Ollama Part 2
In this video, we go deep into GraphRAG (Graph-based Retrieval Augmented Generation)
and show how to STOP large language models from adding fake or extra information.
Key Takeaways
Implementing GraphRAG using Ollama these are the key takeaways
• GraphRAG reduces hallucinations
• Local LLMs can power serious AI systems
• JSON enforcement is mandatory
• Graphs > embeddings for factual queries
Troubleshooting Common GraphRAG Issues
| Problem | Solution |
| JSONDecodeError | Ensure your prompt explicitly demands “JSON only” and check the regex parser in Step 6. |
| Ollama Timeout | Increase the timeout parameter in the requests.post call (Step 5) to 120 or 180 seconds. |
| No Facts Found | Ensure your normalize function isn’t being too aggressive with character stripping. |
| Connection Refused | Verify Ollama is running in the background and the port 11434 is open. |
Frequently Asked Questions (FAQ)
Can I use this with any Ollama model?
Yes, but models like Llama3 or Mistral are better at following the strict JSON formatting required for relationship extraction.
Does this require an internet connection?
No. Once you have downloaded the Ollama model and installed the Python libraries, the entire GraphRAG system runs 100% offline.
Why use NetworkX instead of a Vector DB?
While Vector DBs are great for similarity, NetworkX allows you to map explicit relationships (e.g., “A works for B”), which significantly reduces AI hallucinations.