GraphRAG using Ollama – Build a Knowledge Graph in 11 Powerful Steps

GraphRAG using Ollama

GraphRAG using Ollama

GraphRAG using Ollama we build a Graph-based Retrieval Augmented Generation (GraphRAG) system using a local LLM (Ollama) and Python, without any cloud APIs.

We will:
• Extract relationships using an LLM
• Build a knowledge graph using NetworkX
• Retrieve facts from the graph
• Answer questions strictly from graph context

This entire setup runs offline.

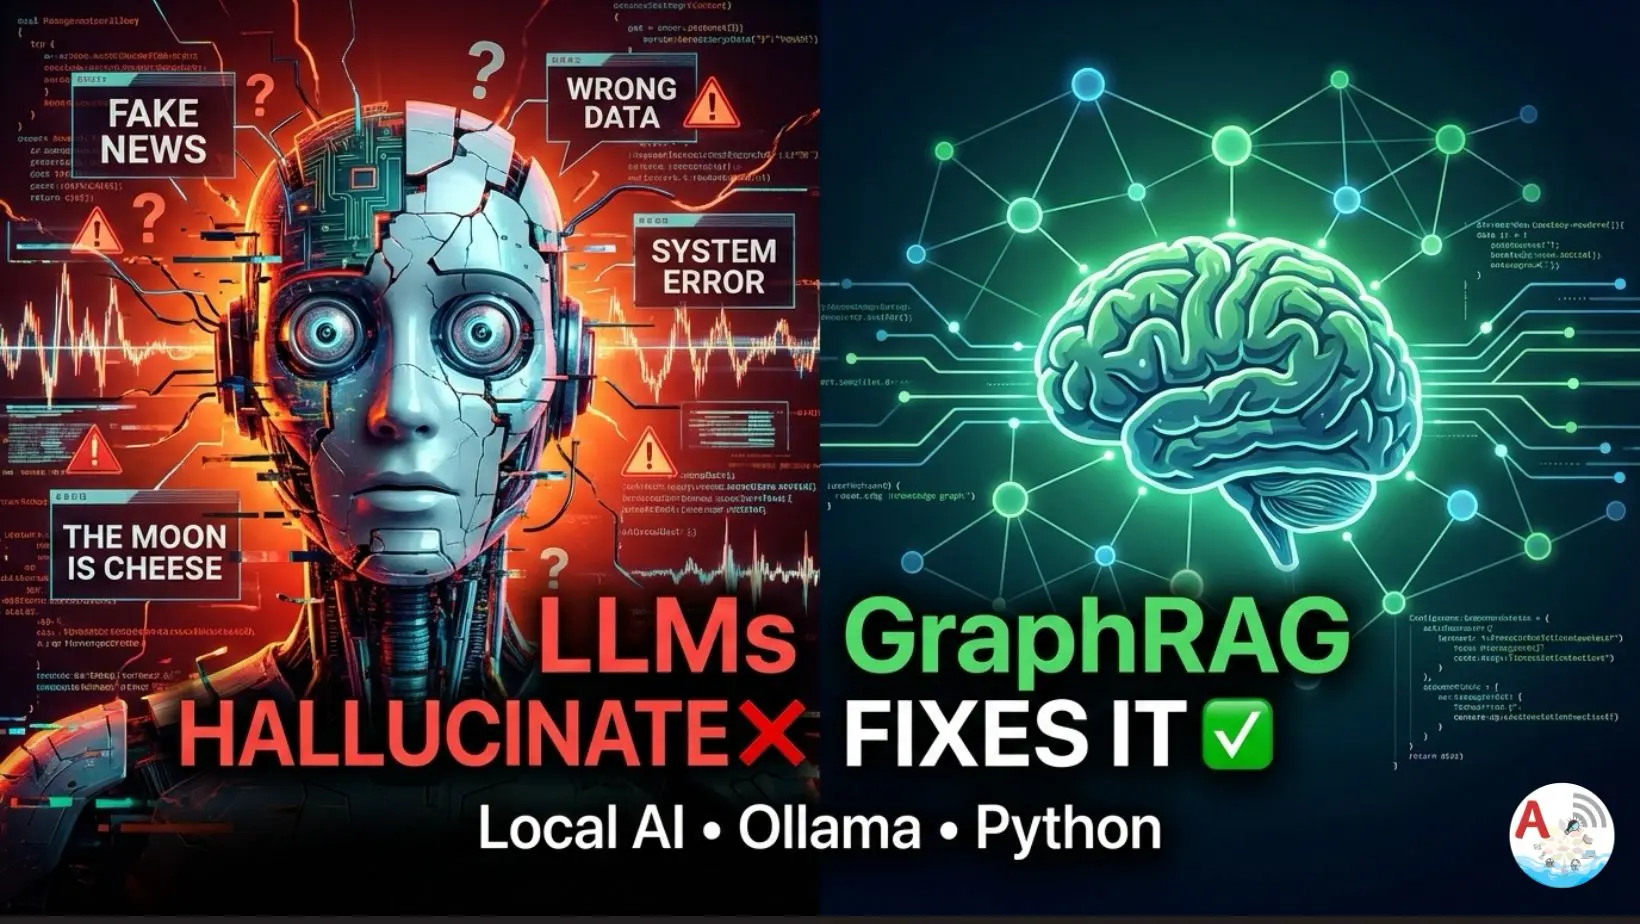
Why GraphRAG (Instead of Normal RAG)?

Traditional RAG retrieves text chunks.
GraphRAG retrieves structured facts like:

Google → developed → Flutter
Flutter → integrates_with → Firebase

This reduces hallucinations and improves factual accuracy.

Tech Stack Used

  • Python
  • Ollama (Local LLM)
  • NetworkX (Graph engine)
  • Regex + JSON parsing

Step 1: Install Dependencies

pip install requests networkx

Make sure Ollama is running locally:

ollama run amplifyabhi

Step 2: Define Documents (Input Knowledge)

These are the facts we want to convert into a graph.

DOCUMENTS = [
    "Flutter is a UI toolkit developed by Google.",
    "Flutter integrates with Firebase.",
    "Firebase is owned by Google."
]

Step 3: Ollama Configuration

We call Ollama directly using its HTTP API.

OLLAMA_URL = "http://localhost:11434/api/generate"
MODEL = "amplifyabhi"

Step 4: Relationship Extraction Prompt

We force the LLM to return structured JSON only.

GRAPH_PROMPT = """
Extract relationships as JSON

Format: 
{
    "relationships": [
        { "source": "", "relation": "", "target": ""}
    ]
}
Text:
"""

This prompt is critical.

Bad prompts = broken JSON.

Step 5: Call Ollama Safely

def ollama(prompt: str) -> str:
    response = requests.post(
        OLLAMA_URL,
        json={
            "model": MODEL,
            "prompt": prompt,
            "stream": False
        },
        timeout=60
    )
    return response.json().get("response", "")

We use .get(“response”, “”) to avoid crashes if Ollama returns unexpected output.

Step 6: Extract Relationships (JSON-Safe)

LLMs sometimes return extra text.
So we extract only the JSON block.

def extract_relationships(text: str):
    raw = ollama(GRAPH_PROMPT + text)

    start = raw.find("{")
    end = raw.rfind("}") + 1

    if start == -1 or end == -1:
        return []
    
    json_text = raw[start:end].strip()
    
    try:
        data = json.loads(json_text)
    except json.JSONDecodeError:
        return []
    
    relationships = data.get("relationships", [])
    return [r for r in relationships if r.get("source") and r.get("relation") and r.get("target")]

This step prevents:

  • JSONDecodeError
  • Partial JSON
  • Hallucinated keys

Step 7: Build Knowledge Graph

We store extracted facts in a directed graph.

def build_graph(docs):
    graph = nx.DiGraph()
    for doc in docs:
        relations = extract_relationships(doc)
        for r in relations:
            graph.add_edge(
                r["source"],
                r["target"],
                relation=r["relation"]
            )
    return graph

Step 8: Query Normalization

Used to match questions with graph nodes.

def normalize(text):
    return re.sub(r"[^a-z0-9 ]", "", text.lower())

Step 9: Retrieve Facts From Graph

This replaces vector search.

def retrieve_from_graph(query, graph):
    q = normalize(query)
    facts = []
    for u, v, d in graph.edges(data=True):
        if normalize(u) in q or normalize(v) in q:
            facts.append(f"{u} {d['relation']} {v}")
    return facts

GraphRAG using Ollama Part 1

GraphRAG using Ollama explained in detail

Step 10: GraphRAG Answer Generation

LLM is strictly bounded by graph facts.

def graphrag_answer(query, graph):
    facts = retrieve_from_graph(query, graph)

    if not facts:
        return "I don't know based on the graph."

    context = "\n".join(facts)

    prompt = f"""
        You are a technical assistant.

        Rules:
        - Answer in 1–2 factual sentences
        - Use ONLY the context
        - No assumptions

        Context:
        {context}

        Question:
        {query}

        Answer:
        """
    return ollama(prompt)

Step 11: Run the System

if __name__ == "__main__":
    graph = build_graph(DOCUMENTS)

    print("Graph Edges:\n")
    for u, v, d in graph.edges(data=True):
        print(f"{u} - [{d['relation']}]-> {v}")

    while True:
        q = input("Question: ")
        if q.lower() == "exit":
            break
        print(graphrag_answer(q, graph))

GraphRAG using Ollama Part 2

In this video, we go deep into GraphRAG (Graph-based Retrieval Augmented Generation)
and show how to STOP large language models from adding fake or extra information.

Key Takeaways

Implementing GraphRAG using Ollama these are the key takeaways
• GraphRAG reduces hallucinations
• Local LLMs can power serious AI systems
• JSON enforcement is mandatory
• Graphs > embeddings for factual queries

Hugging Face Beginner Guide | 3 Powerful Steps to Master Hugging Face Model

Hugging Face Beginner Guide

Introduction

Hugging Face Beginner Guide, If you’re entering the world of Artificial Intelligence and Machine Learning, getting started with Hugging Face is one of the smartest moves you can make in 2025. Hugging Face is a powerful AI platform that provides thousands of pre-trained models for natural language processing (NLP), computer vision, speech recognition, and generative AI applications.

Whether you want to build chatbots, text summarizers, translators, or AI-powered mobile apps, Hugging Face makes it simple with ready-to-use APIs and open-source libraries like Transformers. Developers can experiment with models directly in the browser or integrate them into applications using Python, JavaScript, or REST APIs.

In this Hugging Face Beginner Guide, you’ll learn how to create an account, explore models, use inference APIs, and start building AI-powered applications quickly and efficiently.

All the required steps are specified below

Install Python 3.11 via Homebrew

Install python on machine to implement Hugging Face Beginner Guide

brew install python@3.11

Check Python version

Run python –version or python3 –version in your terminal to verify Python is installed. Make sure you’re using Python 3.8 or higher.

python3 --version

Create a project folder and move into it

Use mkdir project-name to create a new folder. Then navigate into it using cd project-name.

mkdir huggingface_demo
cd huggingface_demo

Create a virtual environment

Run python -m venv venv to create an isolated virtual environment. This keeps dependencies separate from your global Python setup.

python3 -m venv hf-env

Activate the virtual environment

On Windows, run venv\Scripts\activate. On macOS/Linux, use source venv/bin/activate.

source hf-env/bin/activate

Upgrade pip and install required packages

Upgrade pip using pip install –upgrade pip. Then install packages like pip install transformers requests.

pip install --upgrade pip
pip install requests huggingface-hub

Export your Hugging Face API token

Set your API token using export HUGGINGFACEHUB_API_TOKEN=”your_token” (macOS/Linux). On Windows, use setx HUGGINGFACEHUB_API_TOKEN “your_token”.

export HF_TOKEN="YOUR_HUGGINGFACE_API_TOKEN


Check if it works

echo $HF_TOKEN


Run the Python script

python3 ai.py

deactivate venv

deactivate

Local Model

A local model runs directly on your device or system without needing an internet connection. It offers better privacy and lower latency but depends on your hardware performance.

from transformers import pipeline

generator = pipeline(
    "text-generation",
    model="gpt2",
    device="mps"  
)

prompt = "Explain agentic AI in simple terms:"

result = generator(
    prompt,
    truncation=True,
    max_new_tokens=250,
    temperature=0.7,
    do_sample=True,
)

print("\n🧠 AI Response:\n")
print(result[0]["generated_text"])
print("\n✅ Generation complete.")

Online Model

An online model runs on cloud servers and requires an internet connection to function. It provides higher accuracy and scalability since it uses powerful remote GPUs.

import os
from huggingface_hub import InferenceClient

client = InferenceClient(
    api_key=os.environ["HF_TOKEN"],
)

completion = client.chat.completions.create(
    model="moonshotai/Kimi-K2-Thinking",
    messages=[
        {
            "role": "user",
            "content": "What is the capital of USA?"
        }
    ],
)

print(completion.choices[0].message)

Video Model

A video model processes and understands video content for tasks like object detection, tracking, and video generation. It is commonly used in surveillance, content creation, and AI-powered editing tools.

import os
from huggingface_hub import InferenceClient

client = InferenceClient(
    provider="fal-ai",
    api_key=os.environ["HF_TOKEN"],
)

video_bytes = client.text_to_video(
    "A young man walking on the street",
    model="meituan-longcat/LongCat-Video",
)

# Save video locally
output_file = "longcat_output.mp4"

with open(output_file, "wb") as f:
    f.write(video_bytes)

print(f"Video saved to {output_file}")

Final Thoughts

Hugging Face Beginner Guide, Setting up your Python environment and configuring your Hugging Face API token properly lays the foundation for building powerful AI applications. With a clean virtual environment and the right dependencies installed, you’re ready to experiment with models, test APIs, and integrate AI into real-world projects.

As you continue, explore different pre-trained models, try fine-tuning, and experiment with inference APIs. The more you practice, the more confident you’ll become in building scalable, production-ready AI solutions

Stock Market Alerts on Telegram Using n8n – Fully Automated in 5 Minutes!

n8n telegram

Stock Price Automation

In this blog we will be driving through the n8n automation for stock market price alerts.

Automation Playlist :

Bot created
t.me/amplifyabhibot

Try sending a message using below url

curl -s -X POST https://api.telegram.org/bot<YOUR_BOT_TOKEN>/sendMessage \
-d chat_id=8377231990 \
-d text="Hello from my bot!"

Stock filtering

📊 Stock Update:
Symbol: {{$json["Global Quote"]["01. symbol"]}}
Price: ${{$json["Global Quote"]["05. price"]}}
Change: {{$json["Global Quote"]["10. change percent"]}}